Thinking of doing some gardening at home? Planning to start a landscaping project? Perhaps, you’re looking for a way to deal with the flood in your backyard.
All of these landscaping tasks require grading dirt!
Poor leveling not only puts your home at risk for flood and drainage troubles, but it can also wreak havoc on your home’s landscaping, gardens, and trees.
Well-graded land will ensure stability, prevent serious damages, and save you costs from potential repairs.
Whether it’s installing a patio, improving water draining, or leveling the land for your garden, land grading should be first on your agenda.
In this article, we’ll guide you through a simple DIY guide on how to level a yard to prevent flooding or to prepare your land for your landscaping projects!
How To Grade Your Yard
Ready to grade your yard? Before you start, first consider how much leveling needs to be done.
We only recommend this DIY guide for small-scale landscaping work. Larger landscaping excavation is best done by professional excavators.
Here are a few things that you will need to make your project a success:
- Dirt
- Top Soil
- String
- Level
- Shovel
- Lawn Roller
- Rake
- Wheelbarrow
- Wood Stakes
To Level The Ground For Drainage
- Remove any plants that are in the way of your foundation. If you want to replant the grass afterward, you can trim them in large square sections and set aside until you’ve leveled your land.
- Determine the highest point in your yard. This is where you will dig first. With a shovel, toss the soil in the dips of your area, or transport it with a wheelbarrow where you want to level your soil.
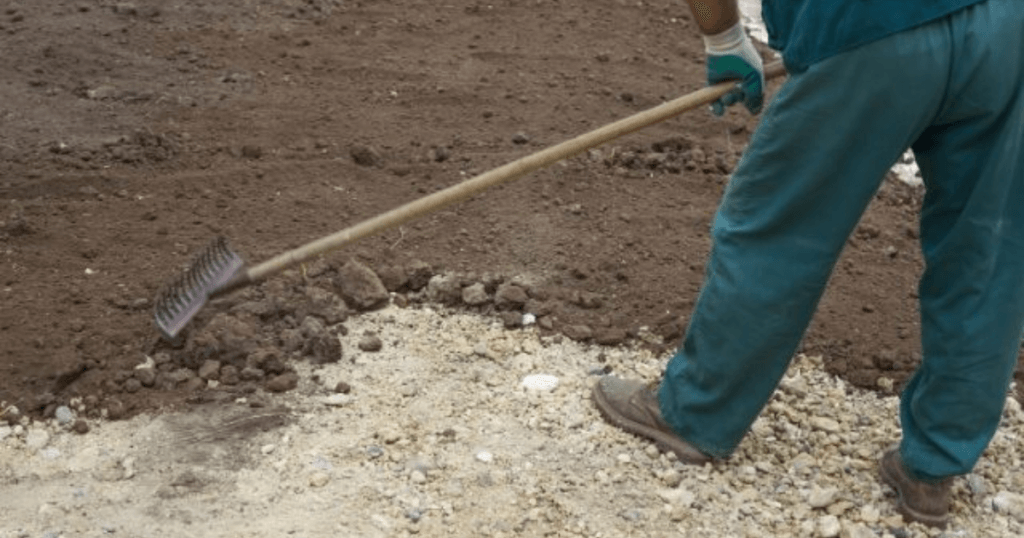
- Excavate the soil on the high side while spreading the excess onto the lower side until the ground becomes flat across the area.
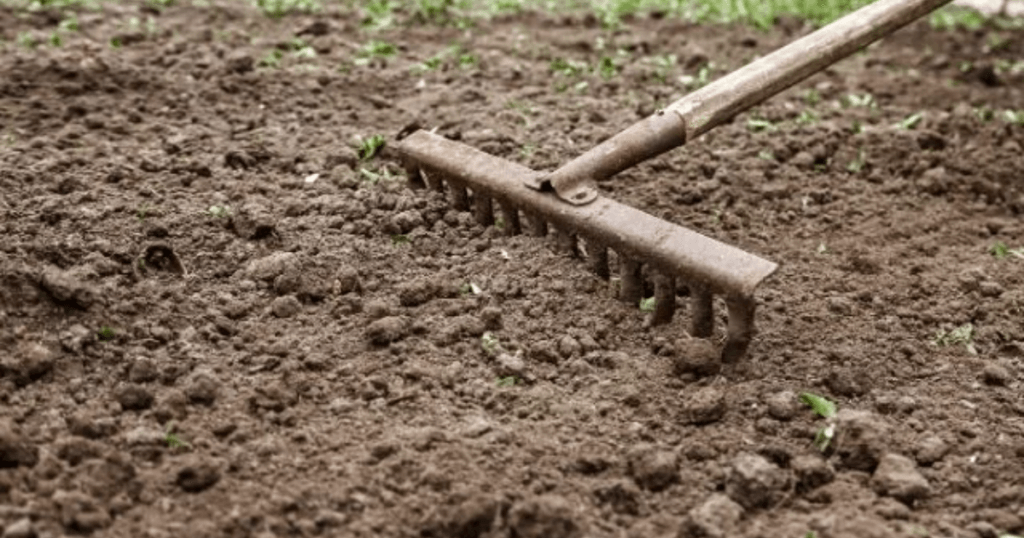
- Flatten and smooth the soil using a hard-metal rake. Check it for levelness with a 4-foot-long level.
- Put one end of the level on the high side of the soil. Raise or lower the level’s other end until the indicator in the level is perfectly in the center of the lines. Measure the height of the level from the soil.
- Make sure the level of your dirt drops about 1 inch every 4 feet in the downhill direction to facilitate good water flow.
- Move soil as necessary until you achieve the correct slope across the length of the leveled area. Repeat the procedure to check the slope of the other areas of graded soil.
To Smoothen Uneven Ground
- If you have a rototiller, use this to loosen and till the soil with a rototiller. This will make it much easier to grade the dirt.
- Even out the soil from the mounds in the location, and use it to fill all obvious dips and depressions.
- With a hard-metal rake, smooth the soil into an even, consistent grade. Break all heavy clods of soil in the process by using the rake or a mattock.
- Water the graded area with a sprinkler for about one hour.
- Check the areas that form puddles, which will occur in low-lying spots. If it does this, add soil to low-lying spots until you establish an even grade in the entire area.
Some Helpful Tips:
- For grading work intended to level an area for a path or a patio, you should compact the sand first before building. Spread the loose soil in 4- to 5-inch-thick layers, and compact it with a tamper between each layer.
- Don’t leave the bare soil exposed after grading as this makes it more vulnerable to erosion, especially if it rains. To avoid this, mulch the area with straw or wood chips. You can also seed it immediately with grass or ground-cover mixture
Remember, DIY Grading Isn’t For Everyone
Yard grading can be done on your own if it’s for small work around your home.
However, if you need to do bigger projects that require extensive grading, it’s best to consult your local excavation company.
On average, professional grading services can take a few days and cost you around $500-2,500, depending on the amount of leveling to be done.
Did this DIY guide help you? Leave a comment if you have questions or want to know more information!